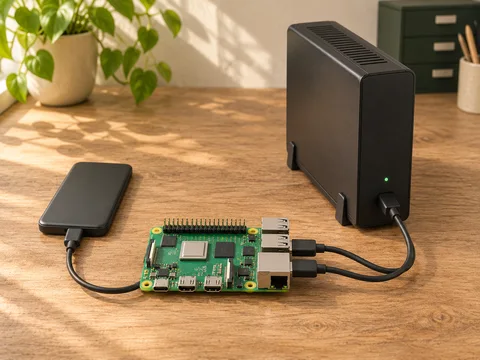
My drives and accessories
My Pi 4 uses a 1 TB Samsung T5 as its main drive and a 2 TB Seagate hard drive for backups. Both drives use ext4. The Samsung T9 and 8 TB BarraCuda linked below are alternatives to these two drives.
As an Amazon Associate I earn from qualifying purchases.
-
ICY BOX IB-377U3
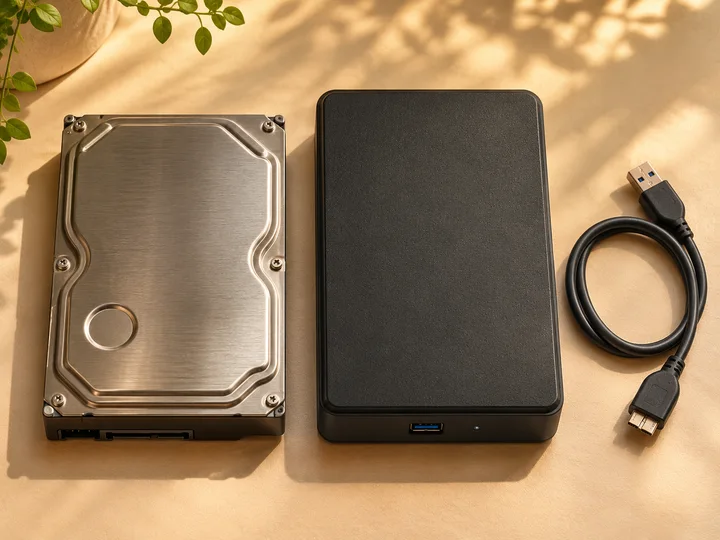
USB enclosure for the 3.5-inch SATA hard drive.
View on Amazon.de (paid link) -
Samsung Portable SSD T9 · 1 TB
An alternative to the Samsung T5 for primary storage.
View on Amazon.de (paid link) -
Seagate BarraCuda · 8 TB
An alternative to the installed 2 TB hard drive for backups.
View on Amazon.de (paid link) -
Brennenstuhl Premium-Line · 6
Six-outlet power strip with surge protection.
View on Amazon.de (paid link)
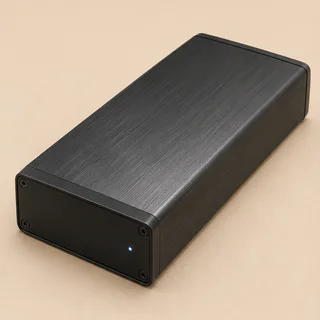

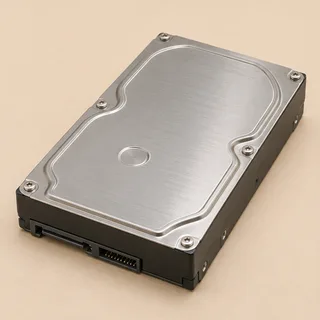

Component images · AI illustrations
Mount and check the drives
I use filesystem labels in /etc/fstab. These commands show which devices are actually mounted at the two paths. Check this before setting up the share or backup and after rebooting.
These example entries assume your drives already use ext4. Check the labels with lsblk -f, create the mount directories and add the entries to /etc/fstab. Edit any existing entries for the same paths in place.
LABEL=ssd1tb /media/ssd1tb ext4 defaults,nofail 0 2
LABEL=backup /media/backup ext4 defaults,nofail 0 2
lsblk -f
sudo mkdir -p /media/ssd1tb /media/backup
sudo mount /media/ssd1tb
sudo mount /media/backup
findmnt --mountpoint /media/ssd1tb
findmnt --mountpoint /media/backupShare the SSD with Samba
My share is called SSD1TB and points to /media/ssd1tb. Install the samba package if needed. Add the example section to /etc/samba/smb.conf. Replace nasuser with an existing Linux user who can write to the SSD, then set a Samba password for that user. In Linux Mint, open smb://HOSTNAME/SSD1TB in the file manager. Replace HOSTNAME with the name or LAN address of your Pi.
[SSD1TB]
    path = /media/ssd1tb
    read only = no
    guest ok = no
    valid users = nasuser
sudo smbpasswd -a nasuser
sudo testparm -s && sudo systemctl reload smbdKeep backup versions with rsnapshot
rsnapshot backs up my SSD to the second drive. Install the rsnapshot package if needed. Add or edit these entries in /etc/rsnapshot.conf and separate the fields with tabs. Add the backup line once. This example backs up files on the SSD. Back up your openHAB configuration separately if it lives elsewhere.
snapshot_root	/media/backup/rsnapshot/
no_create_root	1

retain	daily	7
retain	weekly	4
retain	monthly	6
retain	yearly	3

backup	/media/ssd1tb/	localhost/
mountpoint -q /media/backup && sudo mkdir -p /media/backup/rsnapshot
sudo rsnapshot configtest
sudo rsnapshot -t dailyCron starts the backups. The retain lines define how many versions each tier keeps. Each job in this example checks both mount points first. When several tiers fall on the same day, the less frequent jobs run first. Check whether your jobs actually ran after setup. Add the example schedule to root’s crontab. sudo crontab -e
0 0 1 1 * /usr/bin/mountpoint -q /media/ssd1tb && /usr/bin/mountpoint -q /media/backup && /usr/bin/rsnapshot yearly
0 1 1 * * /usr/bin/mountpoint -q /media/ssd1tb && /usr/bin/mountpoint -q /media/backup && /usr/bin/rsnapshot monthly
0 2 * * 0 /usr/bin/mountpoint -q /media/ssd1tb && /usr/bin/mountpoint -q /media/backup && /usr/bin/rsnapshot weekly
0 3 * * * /usr/bin/mountpoint -q /media/ssd1tb && /usr/bin/mountpoint -q /media/backup && /usr/bin/rsnapshot daily
Restore a file as a test
I copied one small file from daily.0 to a private test directory and used cmp to compare it byte for byte with the backup. The test passed. Pick a file you recognise from your own backup and open the restored copy. The test directory is outside the share.
snapshot=/media/backup/rsnapshot/daily.0/localhost
file="$snapshot/path/to/file"
target=$(mktemp -d "$HOME/nas-restore-test.XXXXXX")
sudo install -m 0600 -o "$(id -u)" -g "$(id -g)" -- "$file" "$target/restored-file" &&
  sudo cmp -- "$file" "$target/restored-file" && printf "%s\n" "$target/restored-file"
Back up openHAB separately
My openHAB configuration and userdata live outside the NAS SSD. I use openhab-cli backup to create separate ZIP archives directly on the backup drive. The weekly job is scheduled for Sundays at 07:00 and keeps the eight most recent weekly archives. I create a separate manual archive before major changes.
During the manual test run, unzip -tq verified the weekly archive. The ZIP check confirms the archive is readable. A full openHAB restore is still to be tested.